Capturing gameplay is easy, but before you share the gameplay videos with your friends, you may want to modify it a bit. This is where the SHAREfactory comes to help. SHAREfactory is PS4’s native video editing app with which the gameplay can be recorded, edited, and then shared with others in various ways.
Steps to Use SHAREfactory to Edit Gameplay Videos on PS4
Hence, in this article, we are going to share some easy steps that will help you master the use of SHAREfactory. We will focus more on the editing part. Let’s get started.
To start up with the method, first of all, create a gameplay video. To do that, press the SHARE button on your DualShock 4 Controller two times.
The above step will start the recording of your gameplay that is ongoing on the screen. Make sure you record everything you need, and after that, press the Share button to stop the recording. This will save the gameplay recording.
The above step will only save the footage to the storage, but to share the gameplay, you need to go to the SHAREfactory. So just open the SHAREfactory app on your PlayStation.
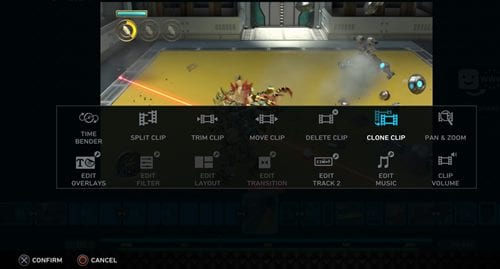
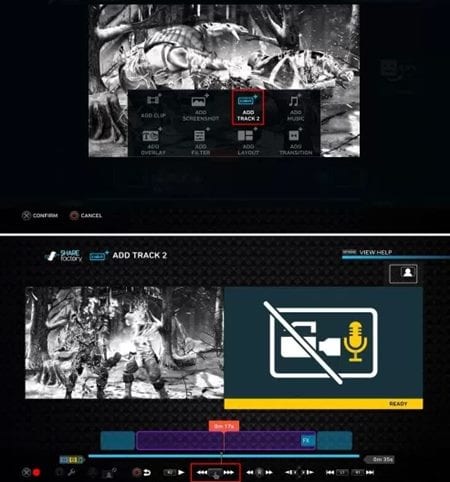
Next create the New Project and then choose the desired theme for the gameplay video. This will launch the timeline where you can add and edit video clips. Click on the SQUARE button on your Dualshock 4 Controller to go to the edit mode, and then press the X button to add items to the timeline.
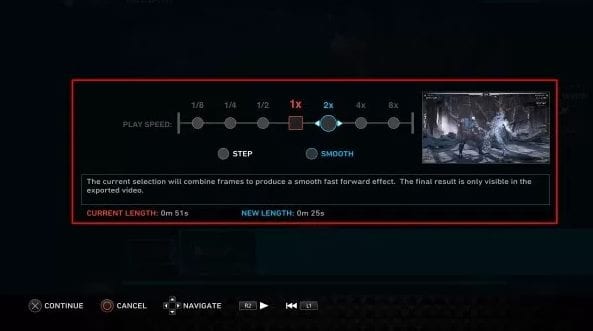
Using the SQUARE button and the X button, you can launch various video editing options like playback speed, effects, voiceovers, etc. Use these options to edit the whole video clip.
To share the video you have edited through the SHAREfactory, press the TRIANGLE button on your DualShock 4 Controller. You can use the options button to save the edited video to the custom storage.
