If we talk about the Windows Defender, it’s a great security suite that protects your computer from various security threats like viruses, malware, spyware, etc. Thanks to the Windows Defender, Windows 10 users no longer need to rely on additional antivirus software for real-time protection.
What is Malicious Software Removal Tool (MSRT)?
Although Windows Defender is capable enough to dodge most security threats, Microsoft has introduced another security tool to safeguard your computer. It’s already a part of your Windows 10 operating system that Microsoft updates regularly to detect and remove known security threats. Every three months, the Malicious Software Removal tool receives a new update which usually appears on the Windows update page. After Windows downloads the newer version of the MSRT tool, it will automatically run itself in the background without interrupting your work. It will display the report telling about the malicious software if it finds an infection. Now you all might be wondering how MSRT is different from Windows defender, right? The Malicious Software Removal Tool is designed to run on an already infected system. That means if your system is breached, you will like to run this instead. The MSRT tool doesn’t provide any real-time protection like Microsoft Defender, nor can it remove harmful software that is not actively running. After scanning your system, it lists the malware and shows the instructions to deal with a specific set of malware. So, it’s a utility that helps to remove unwanted software that Windows Defender missed in the first place. Also Read: How to Configure Windows Defender to Better Protect Yourself
Download & Run Microsoft’s MSRT Tool on Windows
So, if you believe that your PC has some unwanted software, you can run this program. You can always download and run the standalone version of MSRT to manually check and remove malicious software. Below, we have shared a step-by-step guide on using the Malicious Software Removal Tool of Windows 10. Let’s check out.
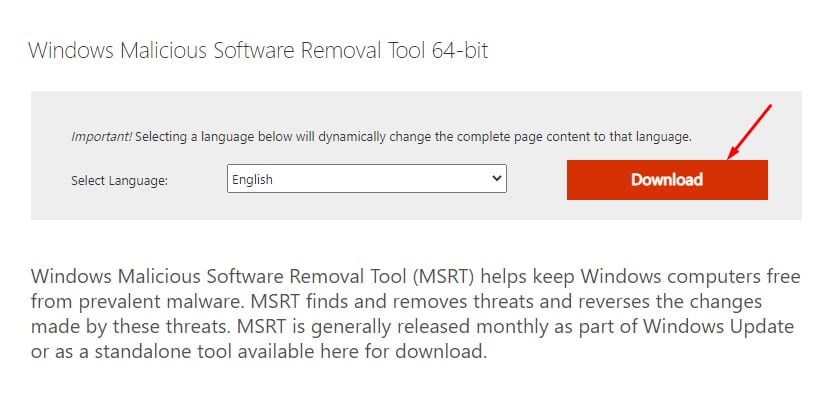
First of all, open this webpage and click on the Download button.
It’s a portable tool, and hence it doesn’t need any installation.
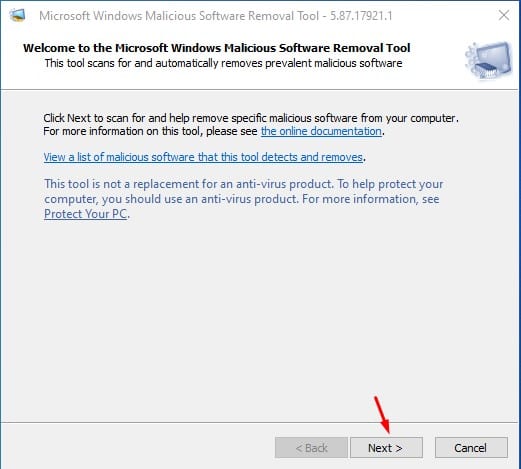
Double-click on the executable file and click on the Next button.
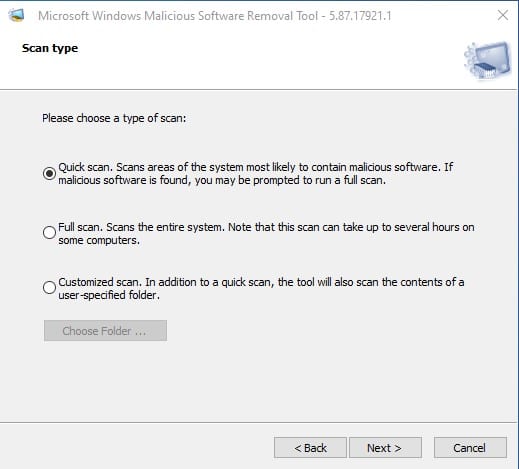
You will find three scan type options – Quick Scan, Full Scan, and Customized Scan.
If you want to scan your entire system, select the ‘Full Scan.’ The Quick Scan option scans the folders likely to have malicious software. The Customized scan performs a quick scan on the folder you have specified.
Select the type of scan you want to perform and wait until the scan completes.
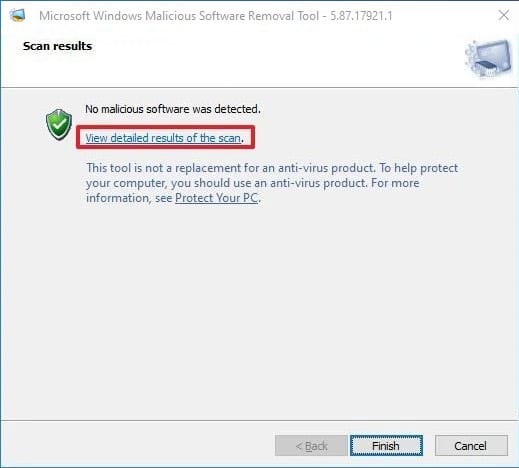
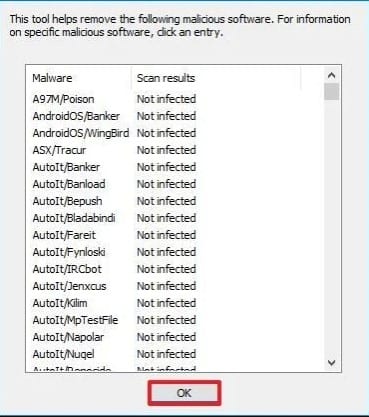
Once completed, click on the View detailed results of the Scan option. It will list all scan details.
MSRT tool also creates a log file telling you about the scan result. You can find the log file on C:\Windows\Debug\mrt.log
Note: Malicious Software Removal Tool is good, but it’s not a perfect replacement for a premium antivirus suite. It would be best if you don’t solely depend on MSRT to safeguard your system, as it doesn’t offer real-time protection, and it only deals with a specific scope of malware. So, this article is all about using Windows 10 using the Malicious Software Removal tool of Microsoft. I hope this article helped you! Please share it with your friends also. If you have any doubts related to this, let us know in the comment box below.
