As the tech giant Google itself has announced the news that DNS over TLS is now supported. Hence, now the security of the user will undoubtedly be high, and not only that, even with this new security system, it is impossible to be attacked. The arrival of DNS-over-TLS ensures that all communication between clients and servers is done safely. With this mechanism, no attacker can have access to the sites that the user visits, and not only that, even other information that can circulate is also protected. The tech giant Google missed this new feature in its public DNS service, but now this security system has been implemented. This means that neither ISPs nor other entities can track the network. So, now without wasting time, let’s explore the tutorial mentioned below.
Steps to enable DNS over TLS in Android Pie
In this current trend, we all are familiar with swapping the DNS servers with Google DNS (8.8.8.8 and 8.8.4.4). Unfortunately, this option could not be done on Android, but the real fact is that this has changed with the arrival of Android Pie, and now we can use DNS over TLS.
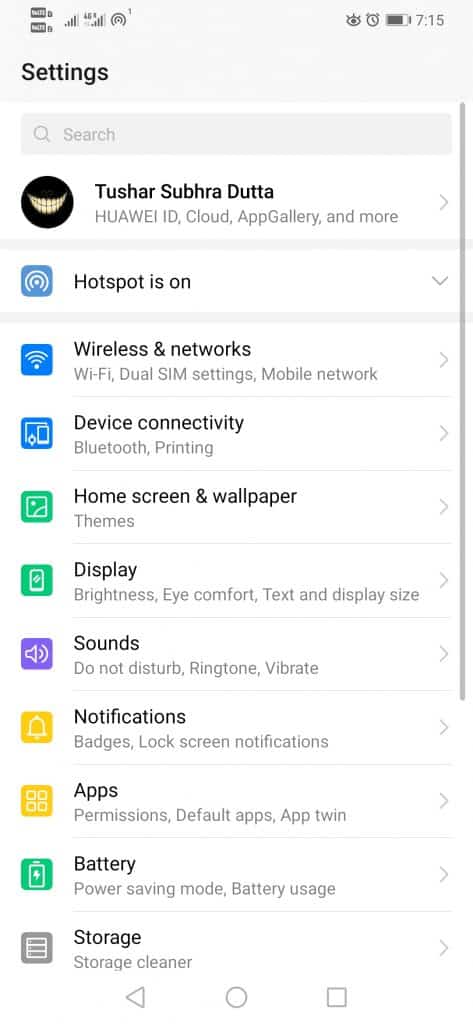
First of all, open settings.
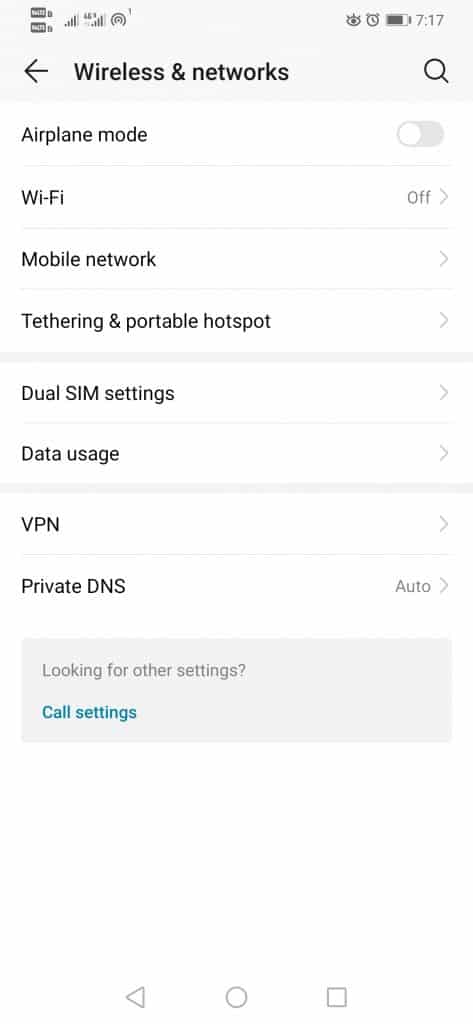
Now select the option Wireless & networks.
Then select the Private DNS option.
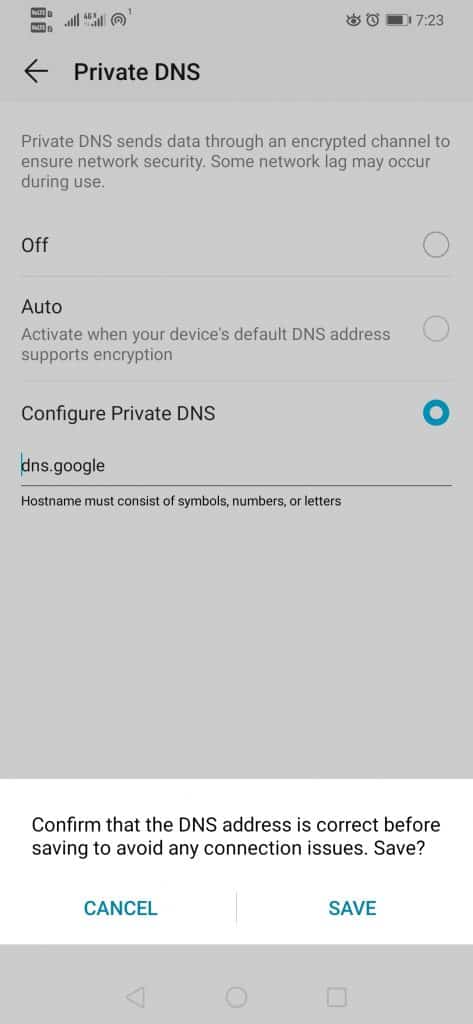
Now select the Configure Private DNS option.
After that, now type “dns.google“.
Now, hit the Save button on the screen’s bottom.
That’s it! Now you are done. Do not forget to tap the Save button to confirm the change you want to make. Hence, now, your device will start using DNS over TLS from Google, and it will remain protected from hackers. This innovation was much anticipated by the tech giant Google, increasing the security of its public DNS and further protecting users. Hence, those using Android Pie 9.0 or above can use this feature. But, unfortunately, for now, DNS over TLS does not yet exist on other Android versions. So, what do you think about this? Share all your views and thoughts in the comment section below. And if you liked this tutorial, do not forget to share this tutorial with your friends and family.


