TrueCaller is right now the most popular caller and caller identification app available for Android smartphones. It has both free and premium plans – The premium plan offers some advanced features, whereas the free version is limited to call identifications and management. We are talking about TrueCaller because the company has recently launched a new call recording feature for those who have a basic account. Before this, the call recording feature is only available for TrueCaller Premium users. After the new update, those using the free version of TrueCaller can record calls on their smartphone. However, the only criteria are that the smartphone should be running on Android 5.1 and above. You can use TrueCaller to record calls manually and set the app to record all calls automatically. So, if you are interested in setting up an auto record for calls on TrueCaller, you are reading the right guide. Also read: How To Get Truecaller Premium for Free
Steps to Setup & Use Call Recording Feature on TrueCaller
This article will share a step-by-step guide on setting up an auto-record for calls on TrueCaller for Android. Let’s check out.
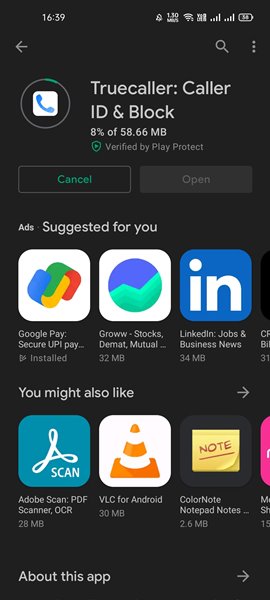
First of all, head to the Google Play Store and install the latest version of TrueCaller.
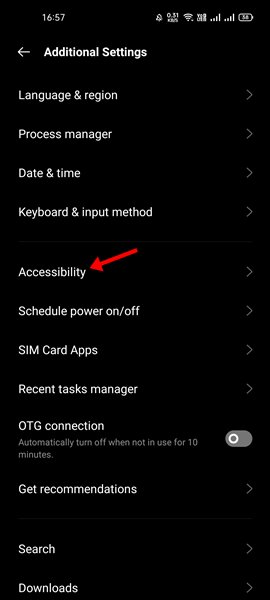
Now, open your Android app drawer and tap on Accessibility.
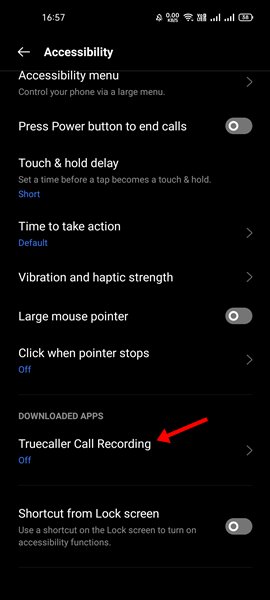
Under Accessibility, find the TrueCaller Call Recording feature under the Downloaded Apps section.
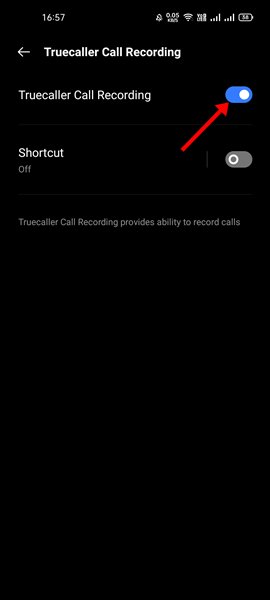
Tap on the TrueCaller Call Recording and enable it on the next screen.
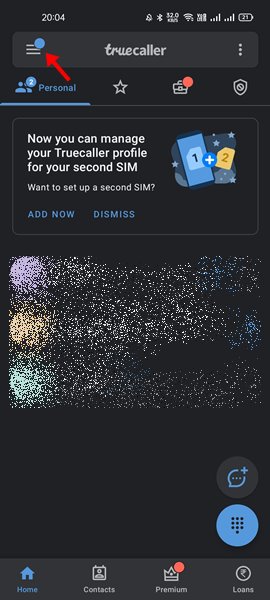
Now, open the TrueCaller application and tap on the hamburger menu.
Find the Call Recording option and enable the option. You will also find an auto-record option. You can turn on the option if you wish. That’s it! You are done. This is how you can set up an auto-record for calls on TrueCaller. So, this guide is all about setting up and using the call recording feature on TrueCaller. I hope this article helped you! Please share it with your friends also. If you have any doubts related to this, let us know in the comment box below.
