On Windows 11, the Account Lockout Policy is responsible for tracking and preventing all unauthorized login attempts to your system. If a malicious user attempts to determine your user account password by trial and error, the Lockout policy disables the account for a preset period. Previously, we have shared a few guides on the Account Lockout Policy for Windows 11. Today, we will discuss how to unlock a locked-out account in Windows 11. You can configure the Policy through Group Policy Editor to modify the lockout duration, threshold, and more. Also Read: How to Download & Install Windows 11 On PC/Laptop
Unlock Locked Out Accounts in Windows 11
Here are the best ways to unlock a locked-out account in Windows 11. You can follow these methods if your PC has multiple user accounts and if one of those accounts is locked out. You must log in to your administrator account and follow our shared methods.
1) Unlock Locked Out Account via Local Users and Groups
This method will use the Local Users and Groups to unlock locked-out accounts in Windows 11. Here’s what you need to do.
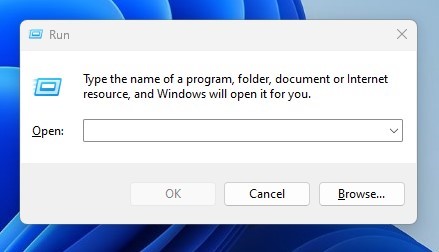
Press the Windows Key + R button to open the RUN dialog box.
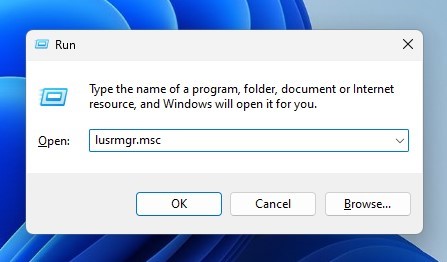
On the RUN Dialog box, enter lusrmgr.msc.
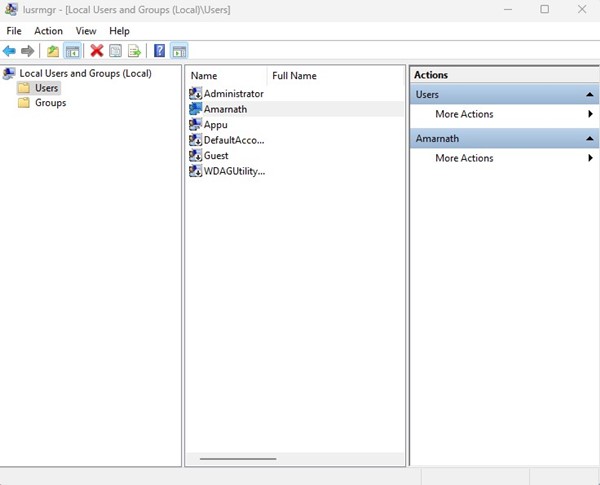
This will open the Local Users and Groups on your computer.
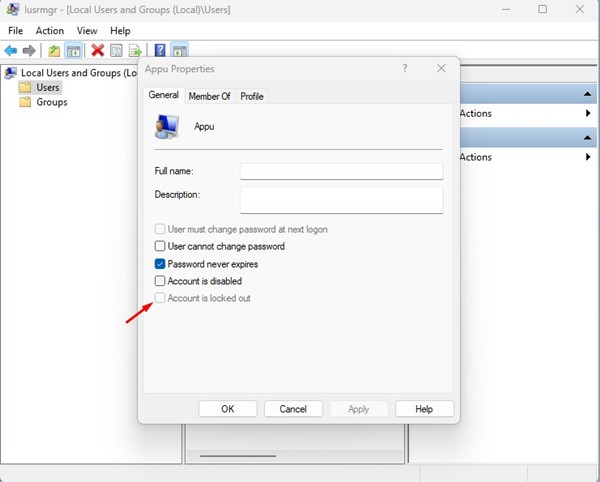
Now, right-click on the locked out account and select Properties. Or else, double click on the user account.
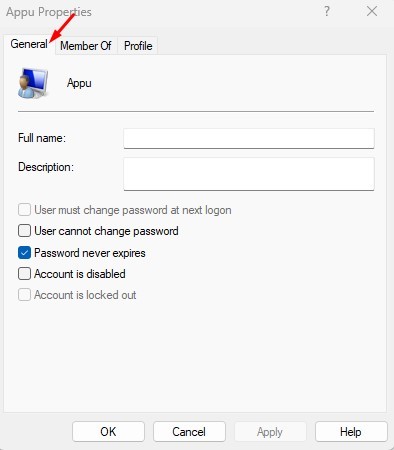
On the Account Properties, switch to the General tab, as shown in the screenshot below.
Next, uncheck the option Account is locked out. Once done, click on the Apply button and then on Ok.
That’s it! This will unlock the Locked out account. Now switch to the locked account, and you can log in.
2) Unlock Locked Out Account via Command Prompt
You can even rely on the Command Prompt utility to unlock a locked-out account in Windows 11. You need to implement some of the simple steps we have shared.
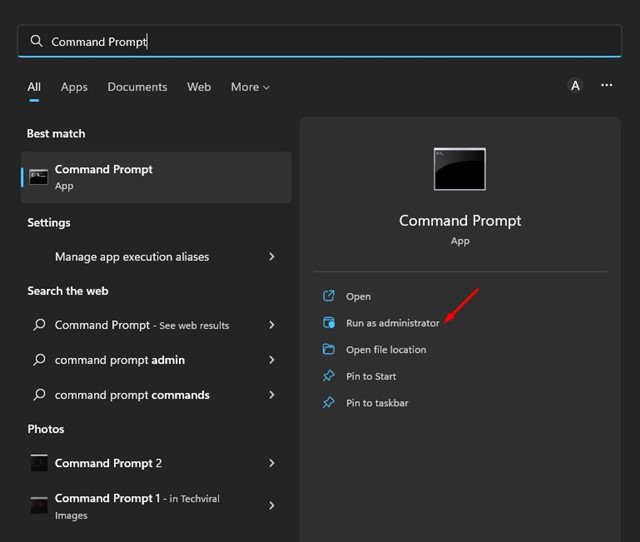
- Click on the Windows 11 search and type in Command Prompt. Next, right-click on the Command Prompt and select Run as administrator.
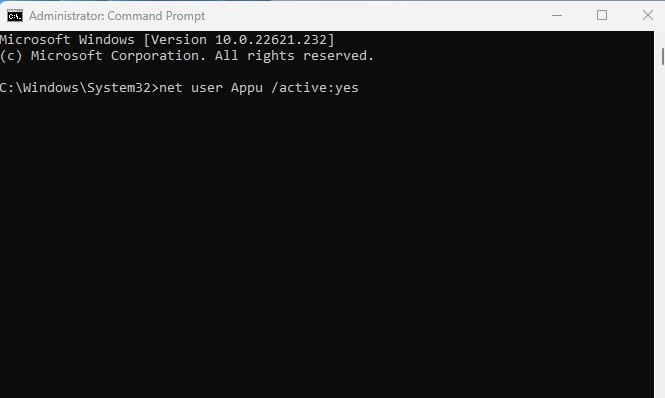
Note: If you are using an Administrator account, you don’t need to run Command Prompt as an administrator. 2. On the Command prompt, type in the given command and press the Enter button.
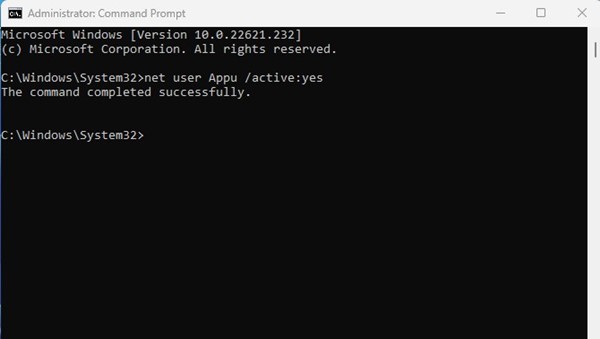
Important: Make sure to replace the
That’s it! This is how you can unlock a locked-out account in Windows 11 via Command Prompt. Also Read: How to Backup and Restore Drivers in Windows 11 using CMD So, these are the two best ways to unlock a locked-out account in Windows 11. If you need more help unlocking locked-out accounts in Windows 11, let us know in the comments below.