Steps to Uninstall the Windows Product Key and Use It on a New PC
You must prefer to use the command prompt to uninstall the Windows license as it’s the easiest way. And for that, you need to follow the below steps to proceed.
- Click Start in the search box, and type CMD. Right-click on the CMD and select the “Run as administrator” option to open the command prompt program.
- In the command prompt program, type “slmgr/dlv” and press enter key. It will display the software licensing service window. You must copy the “Activation Code” to be used in the next step.
- Use “Activation ID” in step 2 to uninstall the Windows product key with the following command:”slmrg/upk activation id“. Let us take an example for this; your activation ID is EEEE-FFFF-GGGG-HHHH; you have to enter the following command: “slmrg/upk EEEE-FFFF-GGGG-HHHH”, and press enter. A pop-up message will appear showing you the message “Uninstalled Product Key Successfully”. It’s a simple procedure to uninstall Windows Product Key from a Windows computer. Your Windows Activation License is free and can be installed on another new computer.
Activate Windows Product Key
While installing a new copy of Windows, you can activate Windows License. When you are at the final step of Windows Installation, You are asked to provide Windows License Code to activate it now or later.
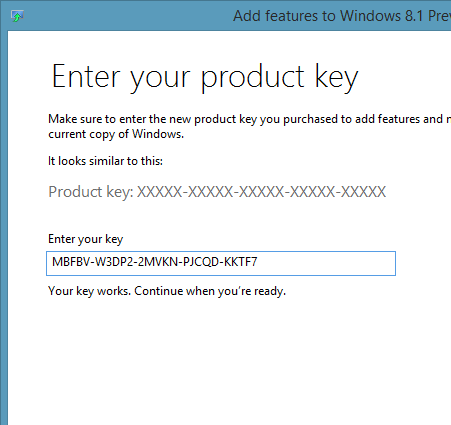
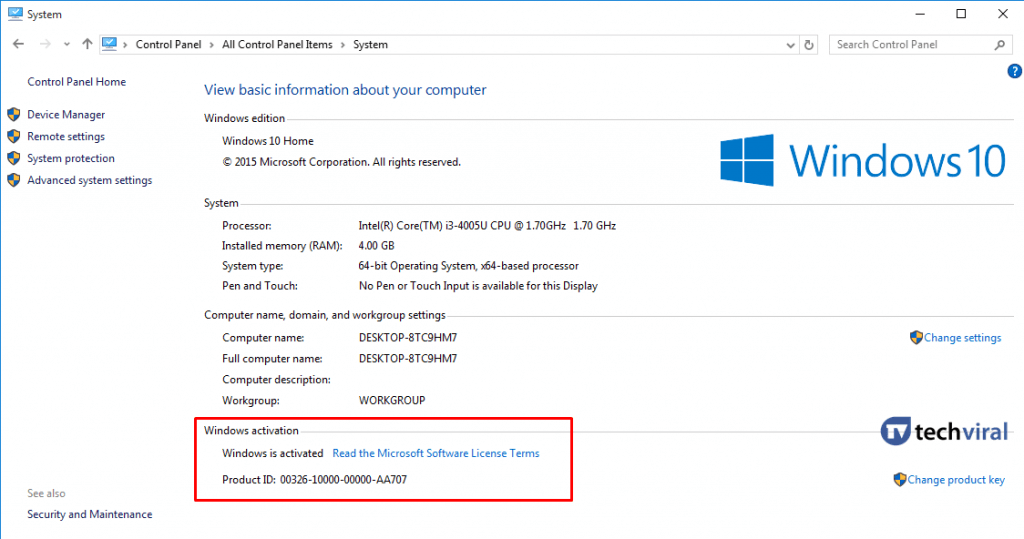
- Go to “Desktop“, right-click on “My Computer” and select “Properties“. In the Windows Activation Section, You have to click to activate Windows. Enter your “Windows Product Key“.
- When you enter the Windows Product key, press enter, and a pop-up window will appear showing you the message “Installed Product Key EEEE-FFFF-GGGG-HHHH successfully“.
So above was all about uninstalling the Windows Product key and using it on a new PC. Follow the steps above to uninstall Windows Product Key on your old Windows computer and install it again on a new computer. So try this out today, and do share with others too. Leave a comment below if you have any related queries about this.


