Steps to Install A Custom Android Boot Animation
Here we will discuss the two different possible methods that will help you change the boot animation of your android device. So have a look at both the method discussed below to proceed.
Manually Using Android File Manager
- First of all, the main requirement of this step is that your device must have root access. Root access will be required in the file manager of your device that should have a root grant for the further procedure, so first, Root your device.
- If your device is rooted, you can download a custom boot animation from the network. Then save the animation file on your device.
- Now, you have to open the Root Browser (or your file manager) app on your phone, and then you have to locate your original boot animation file (bootanimation.zip) in /system/media. This is the boot animation that you see by default on your phone. Long press the file to select it, then rename this file to boot animation.zip1.
- After renaming the file, browse the custom boot animation file you downloaded and saved to your device. Now copy this zip file to /system/media. Long-press the file in the root browser and then choose the Permission option.
- Select all the options from the menu that will appear and then click ok. After that, rename the file to bootanimation.zip. The file should be renamed correctly as the system could not recognize this file if the name is different, and your device may not boot properly.
- Now, you should see two zip files, bootanimation.zip (new file) and bootanimation.zip1 (original).
- If you would like to switch back to your original boot animation, you can delete the current bootanimation.zip file and rename the original file back to bootanimation.zip (from bootanimation.zip1).
- Finally, reboot your device, and you will see that your default boot animation has changed.
Using Boot Animation App
- If your device is rooted, you can download the boot animation for your device and store it in it.
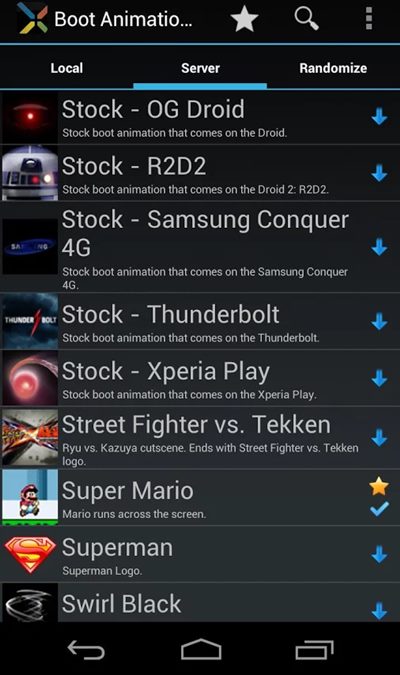
- After that, you must download the Boot animations root app. By using this app, you can easily change the boot animation.
- open the app and choose Backup/Restore through the menu options. You should now back up your original boot animation by tapping the Backup option in the app.
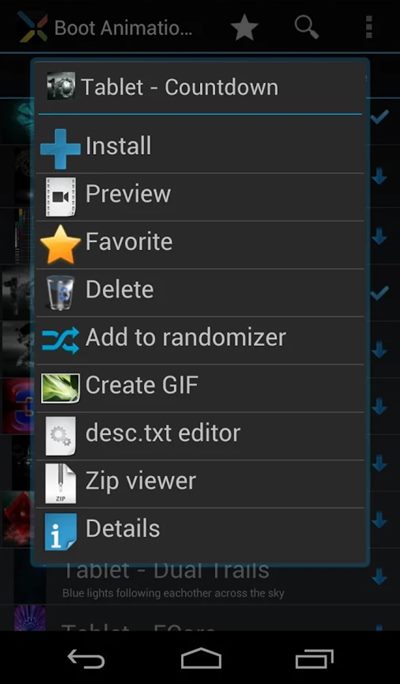
- After creating the backup of the default boot animation file, locate your custom boot animation file in your device’s storage. Long-press the zip file, i.e., the boot animation file, and then choose the Install option. File names should be renamed to “bootanimation.zip” before proceeding to the installation process.
- The app will automatically install the new boot animation, and then you can reboot your device to see your new custom boot animation. Here in this article, you have learned two different ways to change the boot animation of your android. You can now change the boot animations to your wish using these methods. Try these steps on your android smartphone, and you shall make your phone look more awesome than before while booting.


