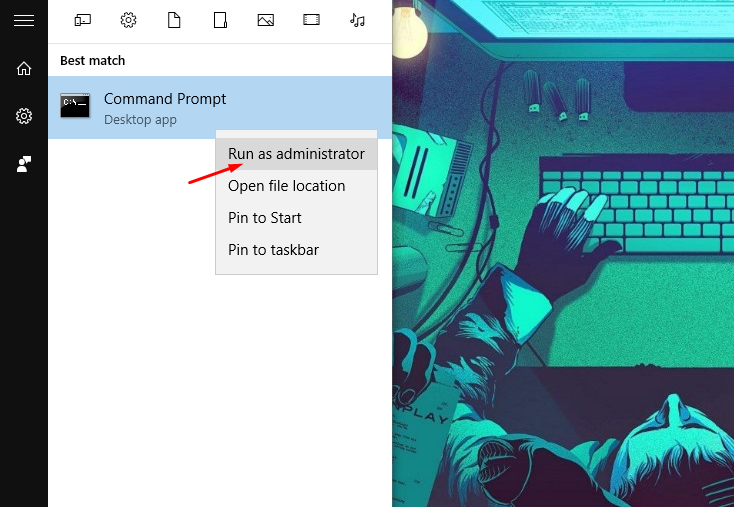
When malware runs in the background, it must connect to outsiders to exchange information. They also use a protocol like TCP or UDP to establish the internet connection and send our private information outside.
Steps to Find and Kill All Remote Connecting Malware On Windows 10
Another important factor is that Windows assigns every process a PID(Process ID). And here, we will be discussing the way by which you can trace out and remove that activity in your windows PC. Yes, it’s possible and can be easily done. So have a look at the complete guide discussed below to proceed.’
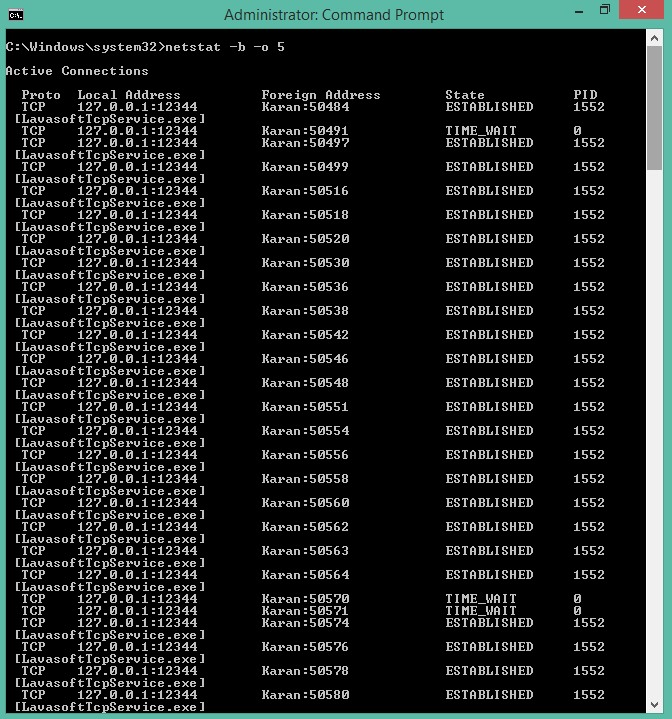
netstat: The netstat is a useful command for checking internet and network connections. -b: This attribute displays the executable in creating each connection or listening port. -o: This attribute displays the owning process id associated with each connection. integer (i.e. 5): An integer used to display results multiple times with a specified number of seconds between displays. It continues until stopped by the command ctrl+c.
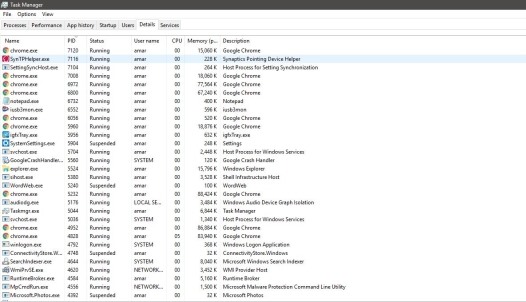
Open your Task Manager and go to the “Details” tab. Under the details tab, you can see the name, PID, status, and more information about the running applications.
You can also sort the PID by clicking on this tab at the top. Once the process IDs are sorted out, you can find the suspected PID.
Right-click on that particular PID, and you can see many options, out of which two important options for you are:-
End Task Open file location
6. Do not click on “End Task” before opening the file location. So, first, click on the “open file location” which will open the location of the suspected malware, and then you can end that task. 7. In the file location, you can delete the malware, and that’s it; you are done. Now, this shall view all the outgoing connections and stop them. So above discussion is all about how to find and kill all remote connecting malware on Windows 10. Using this simple and easy method, you can easily get secure from all the malware that can leak out your private details and keep your privacy in danger.


