Apart from just checking the time, users can now create the Contacts list, which can be accessed by pressing the watch’s side button. Users will see only 12 contacts by pressing the side button by default, but you can create more than 12 contacts. You can also group these contacts as a friends group, family or business group, etc.
Steps to Create Friend Groups on your Apple Watch
This article will teach you how to create friend groups on the Apple watch. Just go ahead and read the article that is given below.
First, you must ensure your Apple Watch is connected to your iPhone.
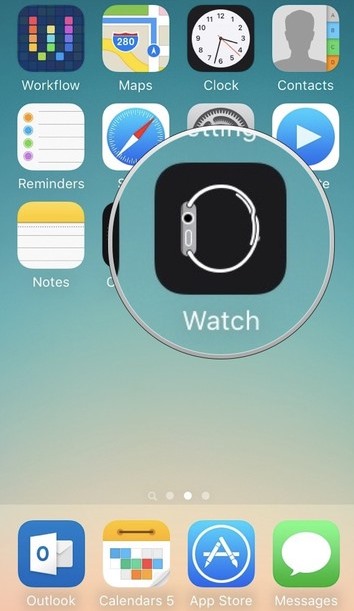
You might have installed the Watch app on your iPhone. After installing the app, open it.
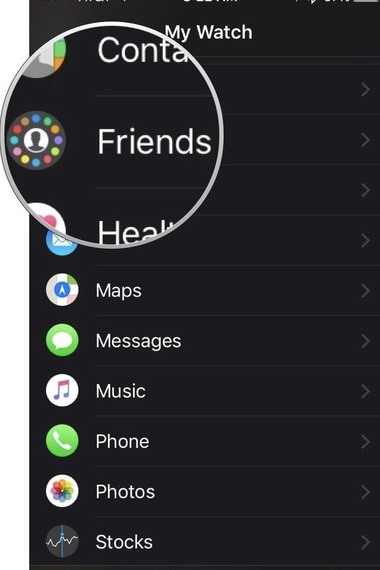
After launching the app, scroll down to find the “Friends” option. Click on this option once you have found it. This will show a different screen where you will have to fill in the details for the group you will create for your friends’ contacts.
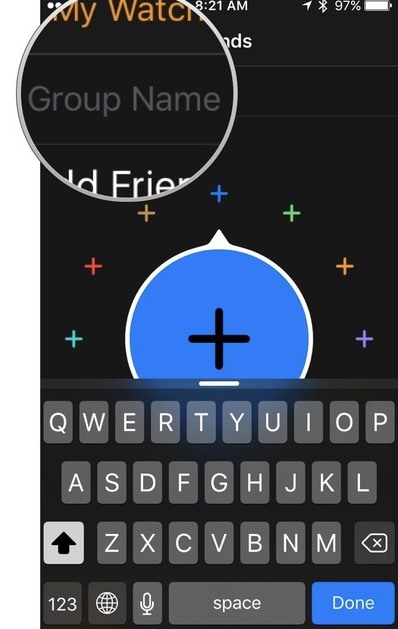
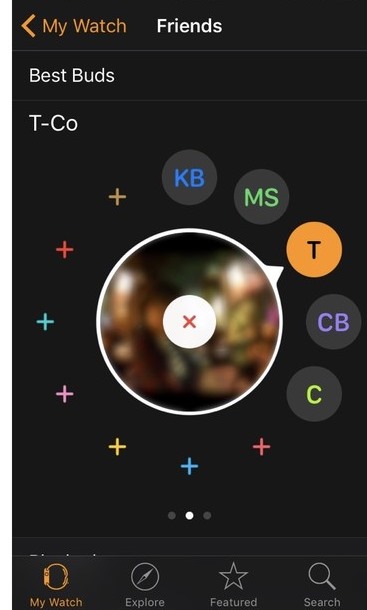
You have to enter the name of the group you are creating, and then after that, you can add up the contacts under that group. To add new contacts to the group, tap on the “+” icon in the center of the screen, and then it will show you the list of contacts. From there, find and select the contact you wish to add to the group. The contact will be added to the group.
To add more contacts to the group, repeat the same steps from 1-4. Repeat the steps until you add all your wished contacts to the group.
And that’s all you have now done! The changes that you have made will appear automatically on the Apple Watch. To access the friends’ group on the Apple Watch, press the side button and swipe to the left until you see your group. Now you will see the list of contacts you added under that group. You can tap the contact of your wish to call or send a message.
So this is all about how to create Friend Groups on your Apple Watch. If you need more help on this topic, let us know in the comments. Also, if the article helped you, share it with your friends.


