Although Kill Switch seems to be a great VPN feature, you may want it to have on your Windows 10 operating system. The benefit of having a Kill Switch in Windows is that you can instantly close the internet connection.
What’s the need for a Kill Switch?
Well, Kill Switch can help you in multiple ways. You can use it to close the internet connection whenever you sense suspicious activity on your internet connection. So, it has multiple uses, and it acts as a panic button. You can use it to get out of situations when you need to pull the ethernet cable. So, the Kill switch is one of the best and easy ways to cut off internet connectivity. Also read: How to Track Internet Activity for Free in Windows 10/11
How to Create a Kill Switch in Windows 10/11
Creating Kill Switch in Windows 10 is pretty easy. You need to follow some of the simple steps given below. So, let’s check out how to create an internet kill switch in Windows 10.
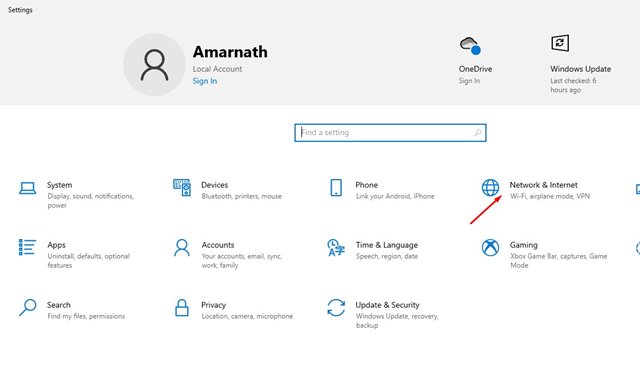
First of all, Press Windows Key + I button on your keyboard to open the Windows 10 Settings app.
On the Settings app, open the Network & Internet option.
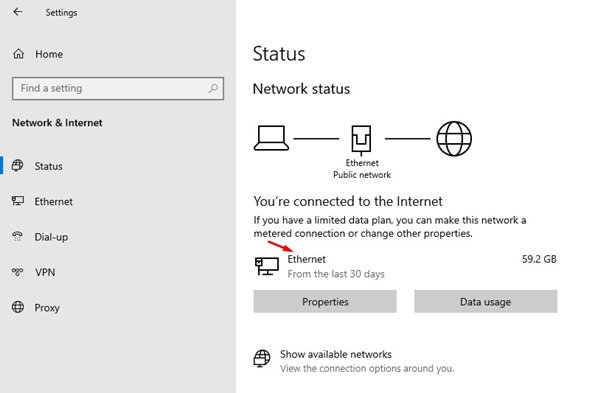
Note down the network adapter name you are connected to.
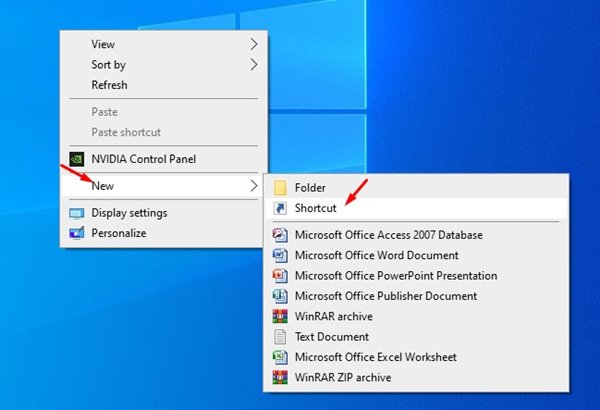
Right-click on your desktop and select New > Shortcut.
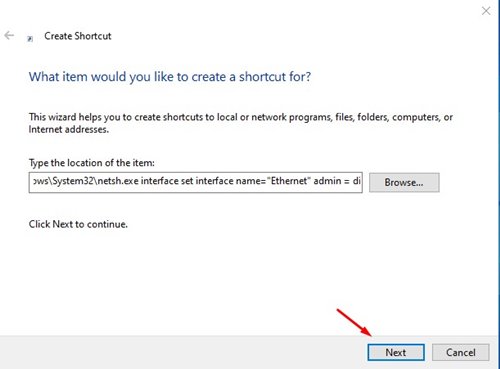
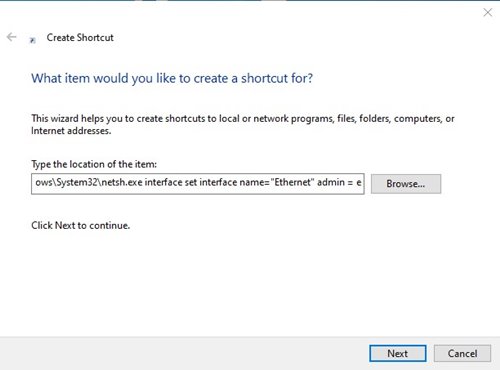
On the Shortcut dialog box, enter the script: Replace the XXXX with your network adapter name that you have noted in Step 3.
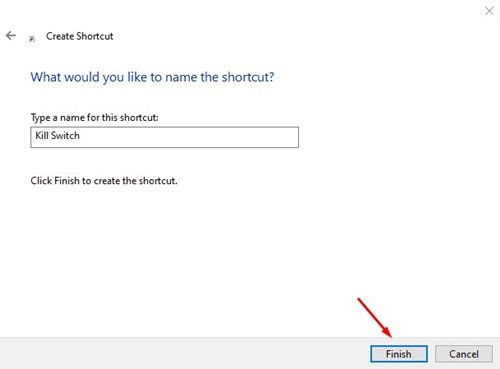
Once done, click on the Next button. Next, enter a suitable name for the shortcut. You can name it anything you want, like Kill Switch, Stop Internet, etc.
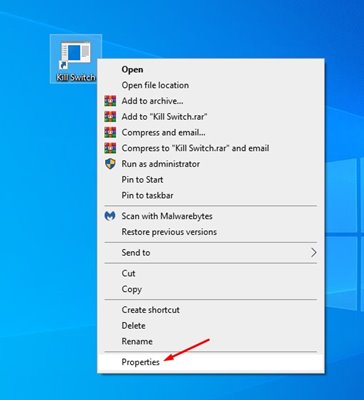
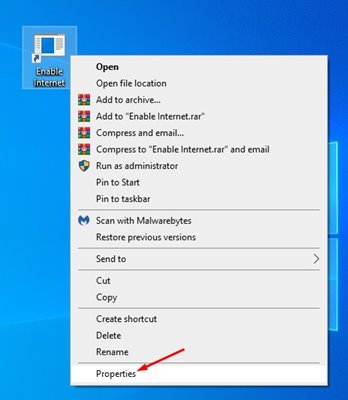
Now right-click on the shortcut file and select Properties.
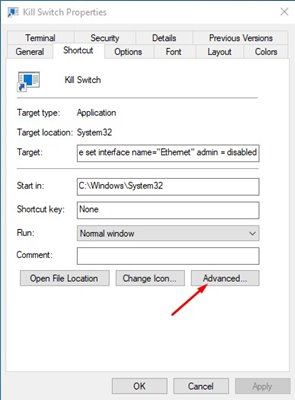
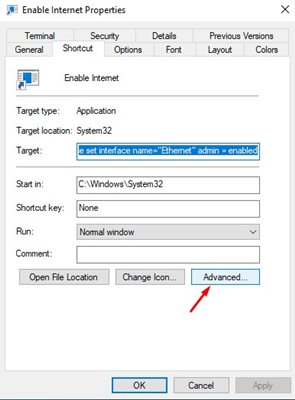
Next, click on the Advanced button, as shown in the screenshot below.
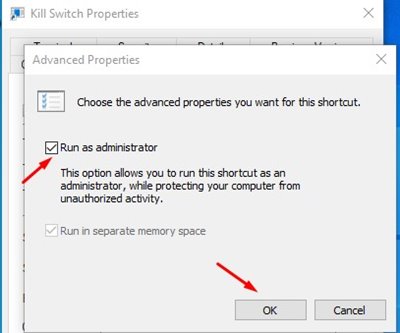
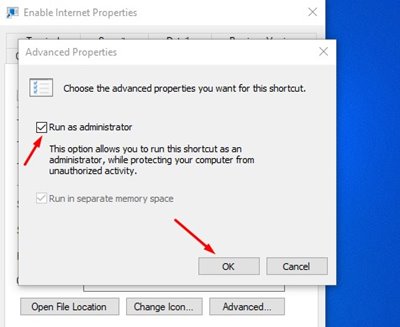
Enable the Run as administrator option on the Advanced Properties and click on the Ok button.
That’s it! You are done. Now, whenever you want to disconnect the internet, use this desktop shortcut.
How to Create a Reconnect Switch?
If you want to regain access to the internet, you need to create a reconnect switch. For that, you need to follow some of the simple steps given below.
Right-click on the desktop and select New > Shortcut.
On the Shortcut dialog box, enter the script below: Replace ‘XXXX’ with your network adapter name.
Once done, click on the Next button and name the shortcut as Reconnect or Connect to the Internet and click on the Finish button.
Right-click on the shortcut and select Properties.
Next, click on the Advanced option, as shown in the screenshot below.
On the Advanced Properties page, check the Run as administrator option.
That’s it! You are done. Now, if you wish to regain access to the internet, double-click on this shortcut. So, this guide is all about how to create an internet kill switch in Windows 10. I hope this article helped you! Please share it with your friends also. If you have any doubts related to this, let us know in the comment box below.